This page provides a detailed example of configuring a Chromebook for use on the eduroam wireless network. Once properly configured, your Chromebook can be used wherever eduroam is available, including hundreds of educational institutions around the world.
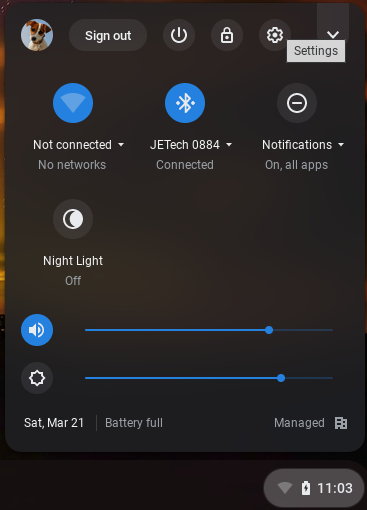
1. Open the Chromebook’s settings menu by clicking on the clock in the lower-right corner, then select the “gear”
icon at the top of the pop-up menu.
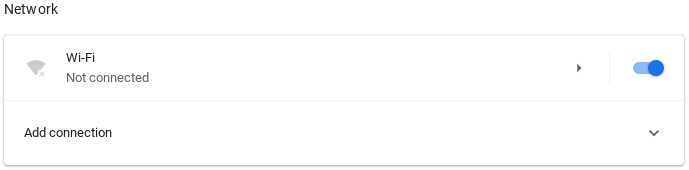
2. Locate the “Network” settings near the top of the “Settings” window, and select “Add connection.”
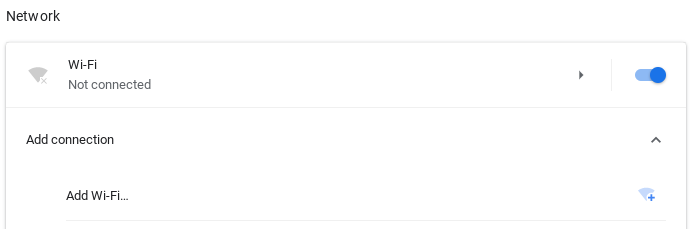
3. Under “Add connection,” select “Add Wi-Fi."
4. Enter the settings as shown below, using your UCSBnetID and password for the “Identity” and “Password”
options. The options shown will change as you proceed with the configuration, so simply start at the top of the
example and work all the way through to the bottom. Please note that the “Identity” must consist of your
UCSBnetID@ucsb.edu – the @ucsb.edu suffix must be used to successfully log in to the eduroam network.

5. If the connection is successful, the Wi-Fi symbol will appear in the lower-right corner of the screen, showing a
relative signal strength for the new eduroam connection.